GLORY
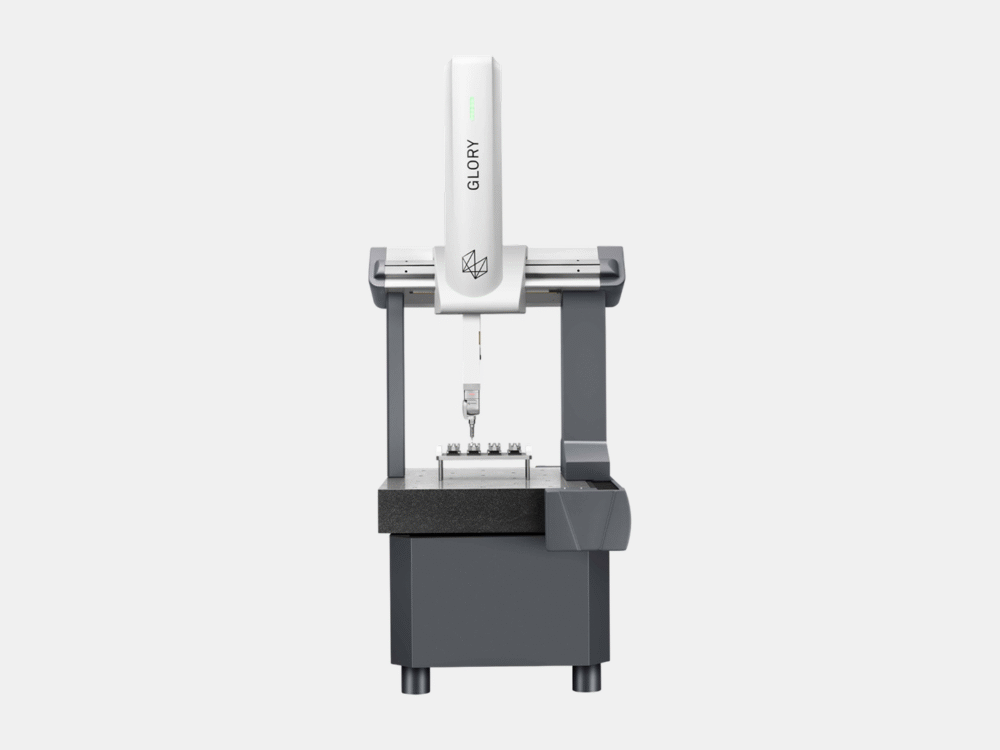
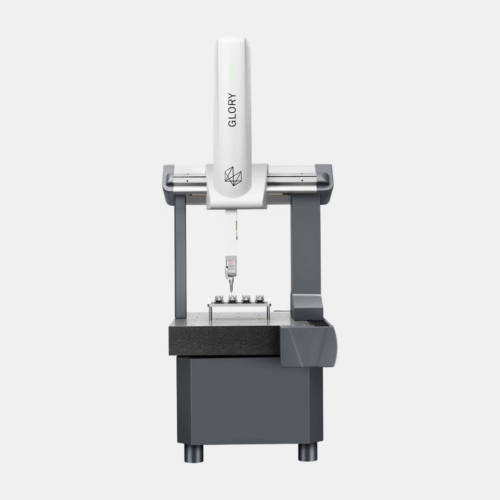
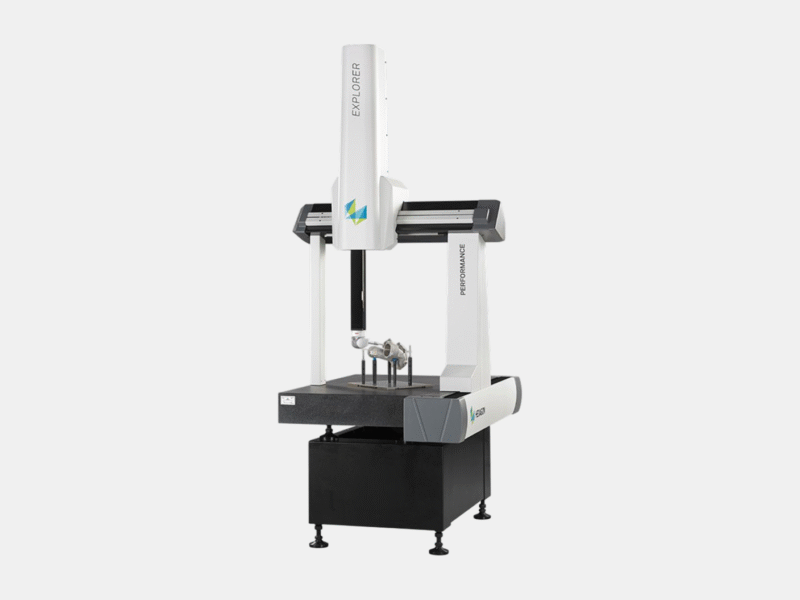
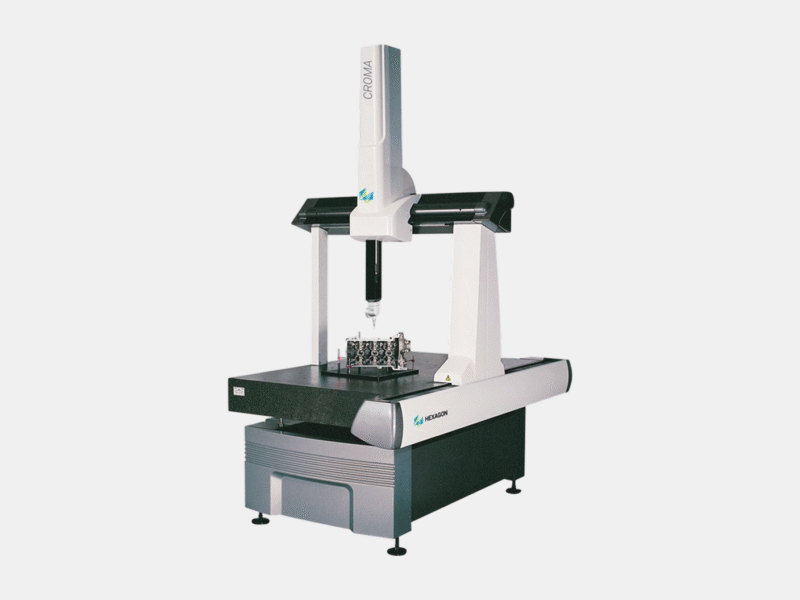
New-generation universal measuring machine for versatile tactile and non-contact measurement. The system provides a highly configurable measurement platform that builds upon Hexagon’s innovative and advanced core technologies and nearly 30 years of experience in industrial metrology.
GLORY comes in two models – Touch and Scan – optimally configured to handle a wide variety of measurement tasks in their respective application classes. Users can choose the best solution for each application by leveraging various tactile and non-contact sensors in combination with a range of indexing probe heads. The CMM supports the fast changeover of measurement methods to meet different part and feature requirements.
GLORY CMMs run the market-leading and widely used metrology software PC-DMIS that offers optimised workflows for all types of measurement operations, making it easy and efficient to implement simple or complex measuring routines.
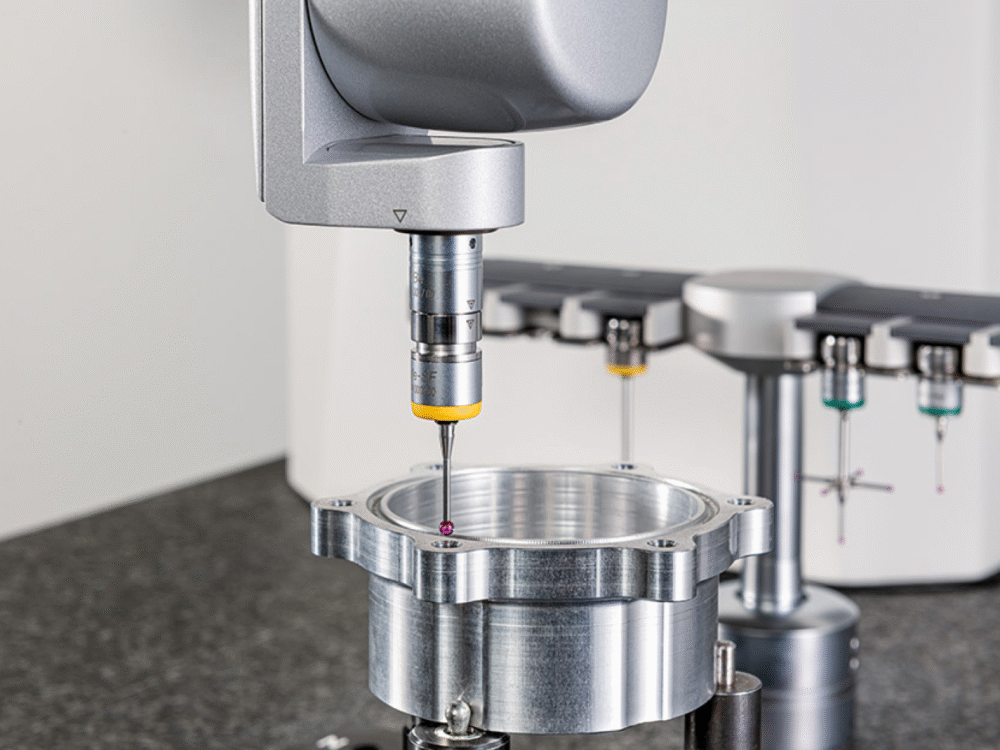
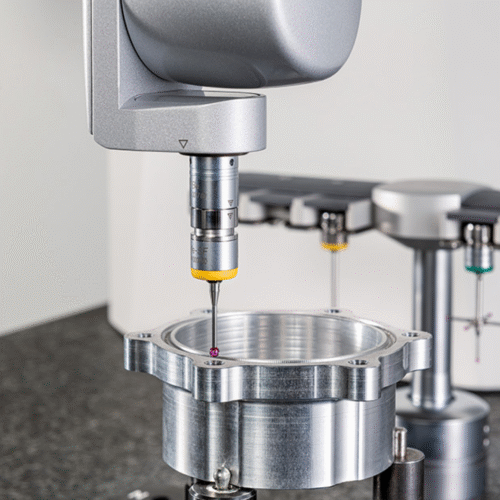
Touch-Trigger Probe on an Indexing Probe Head: A touch-trigger probe on an indexing probe head allows for repeatable and fast 3D point measurements in any spatial direction, making it ideal for general-purpose measurements on complex parts. GLORY supports manually and motorised indexable probe heads and modular 5-way and 6-way touch-trigger probes with exchangeable stylus modules providing different trigger forces.
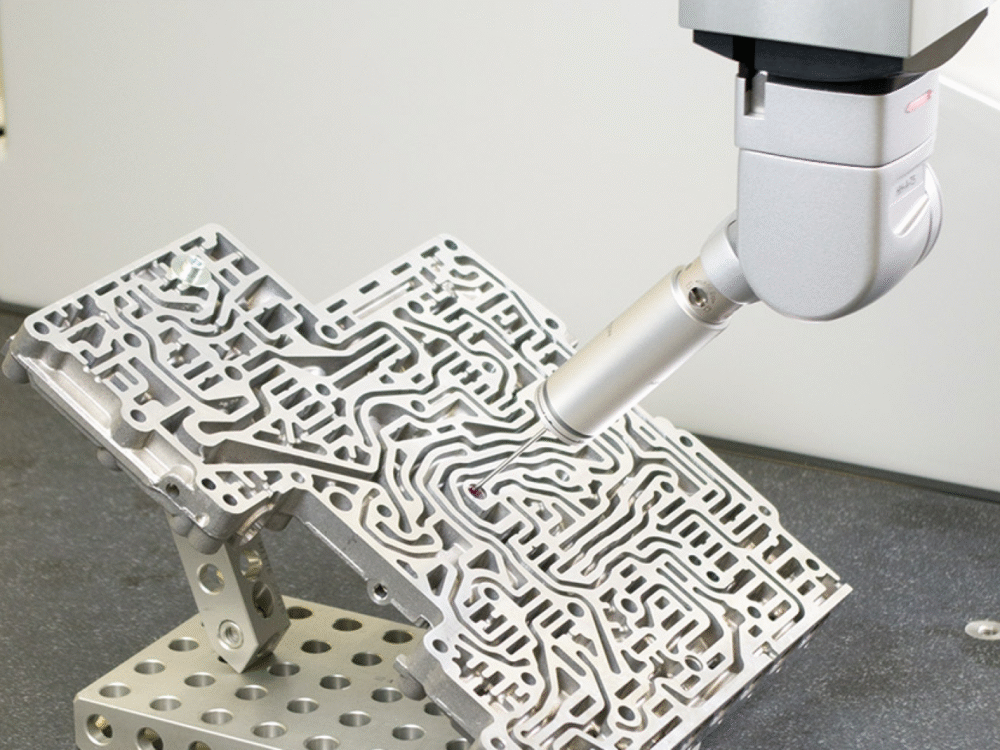
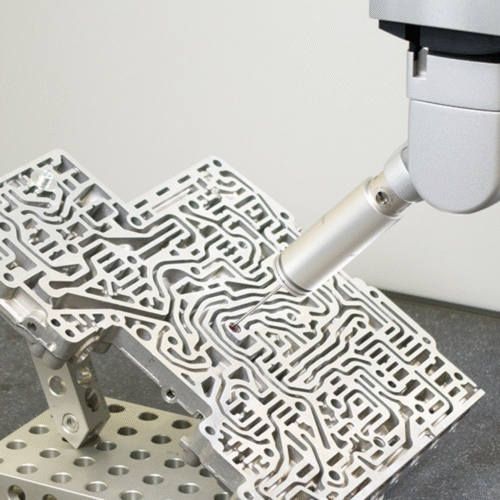
Tactile Scanning Probe on an Automatic Indexing Probe Head: A scanning probe on a motorised indexing probe head enables fast measurement of form features and surface profiles from variable spatial directions and angles around the part. With tactile scanning, hundreds of data points on both known and unknown surfaces are captured per second, providing accuracy and reliability while saving the user significant process time. GLORY supports motorised indexable probe heads fitted with Hexagon’s unique TKJ (kinematic joint) probe interface. A fixed scanning probe head is also available.
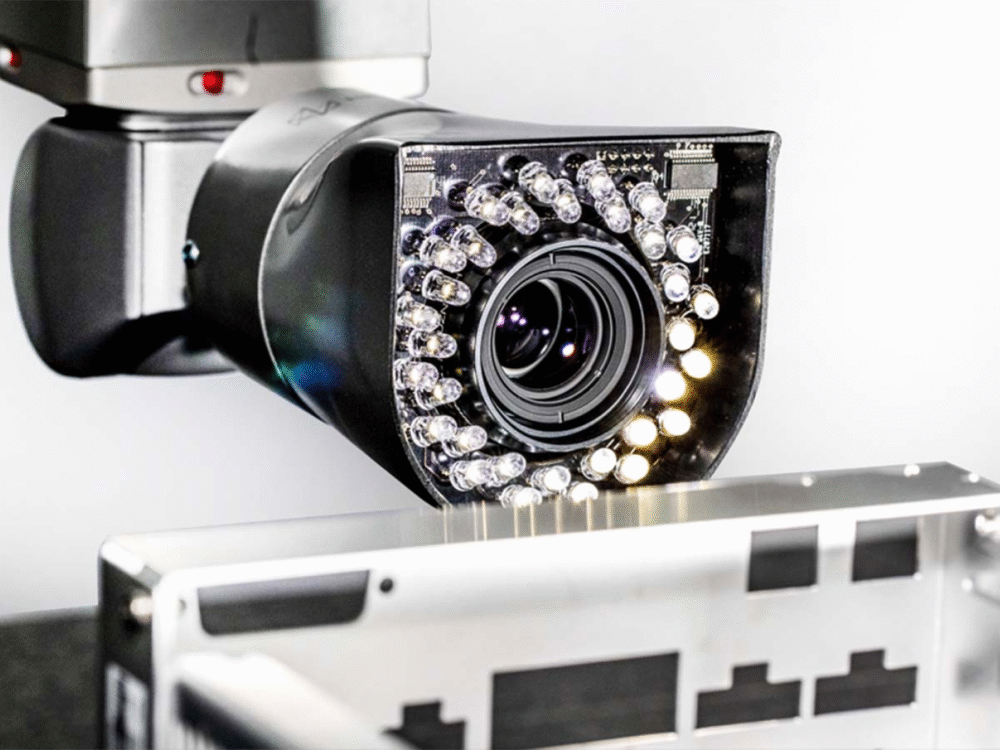
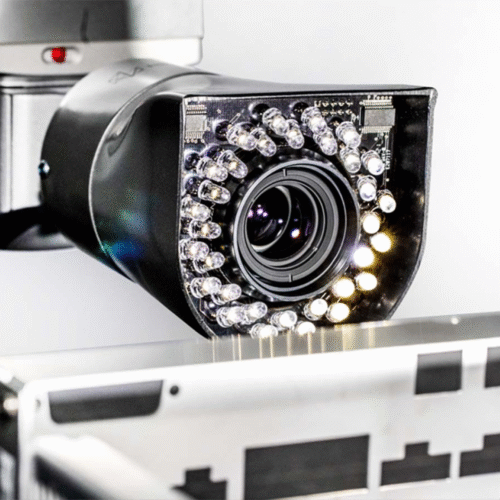
Non-contact Vision Sensor on an Automatic Indexing Probe Head: The vision sensor has a high-resolution colour camera and built-in LED illumination system to measure microscopic features and easily deformed components. With the vision sensor’s zoom capabilities, operators can choose between a large field of view to quickly measure multiple features simultaneously or a smaller measurement area to measure individual elements with higher accuracy.
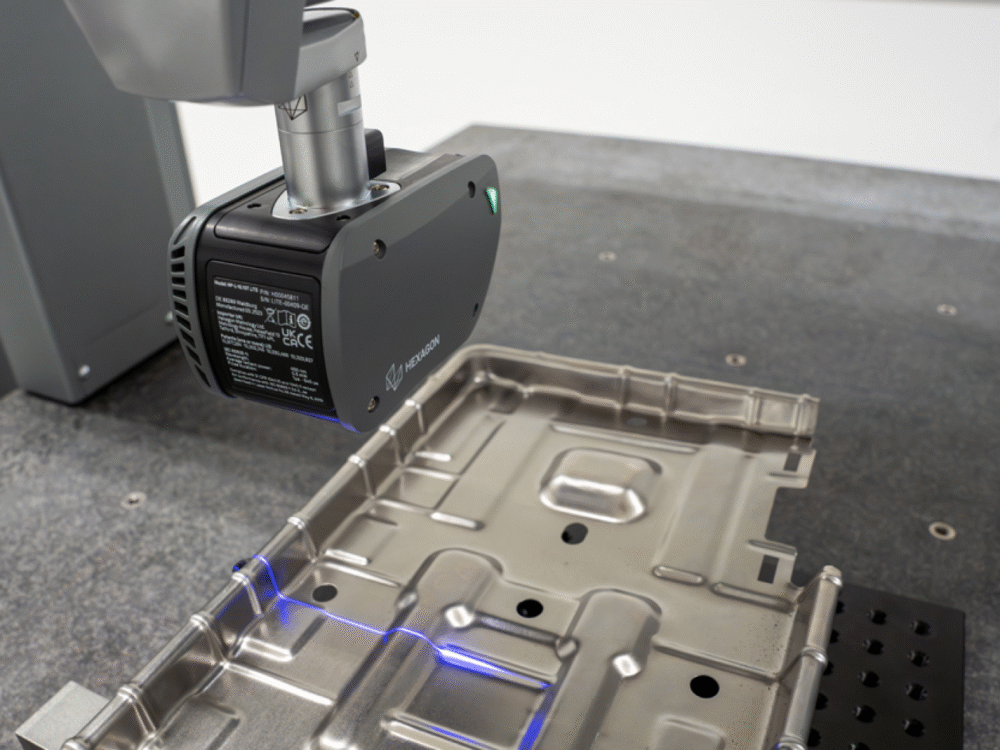
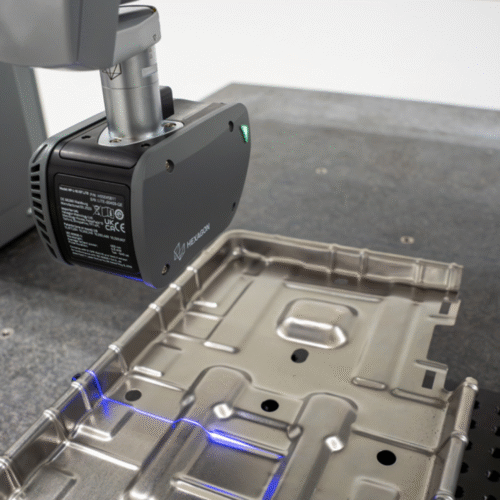
Non-contact Laser Scanning Sensor on an Automatic Indexing Probe Head: The laser scanning sensor collects hundreds of thousands of data points per second and accurately digitises entire part surfaces in point clouds for more efficient measurement and faster throughput.
Carbide Aluminium Mechanical Frame: The frame is surface hardened for extra rigidity. The lightness of aluminium, its good thermal conductivity and its adaptability to temperature changes provide the optimum material for a universal measuring system.
One-Piece Granite Stage: The solid and stable granite table reduces vibration and supports smooth bridge movement.
Pneumatic Balancing Technology: The flexible suspension system avoids interference between axial movement and the drive train and ensures high positioning accuracy, smooth running and saves energy.
HEIDENHAIN Scales: High-resolution encoder system, excellent measurement stability, repeatability and accuracy. Unaffected by interference, wear-resistant, stable and reliable.
Reinforced Timing Belts: Reinforced timing belts with built-in steel wire combine flexible engagement and rigid axial drive characteristics to ensure precise positioning and eliminate jitter during high-speed scanning.
Integral Dovetail Guides: Precision-machined integral dovetail guideways and pre-loaded air bearings in all axes ensure stable movement, accuracy, repeatability and long-term stability.
Messaging Light: The multi-coloured LED signal light integrated into the top of the Z-axis allows users to monitor the CMM’s status in real-time, even from a distance, optimising time and resource management.
TRICISION Bridge: An optimal structural rigidity provides higher accuracy, long-term stability and improved dynamic performance. The triangular crossbeam is structurally robust and less prone to deformation under stress, allowing for faster operation, a smaller footprint and better thermal stability.

